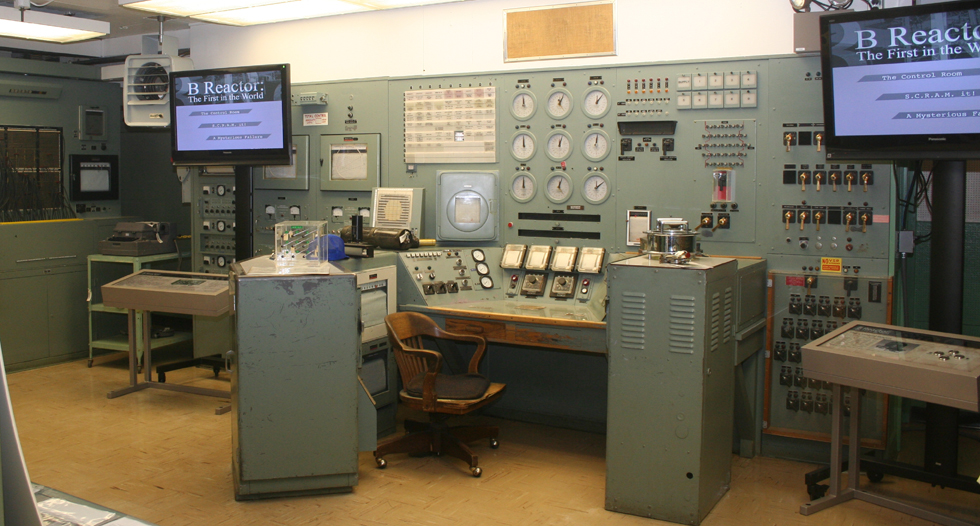
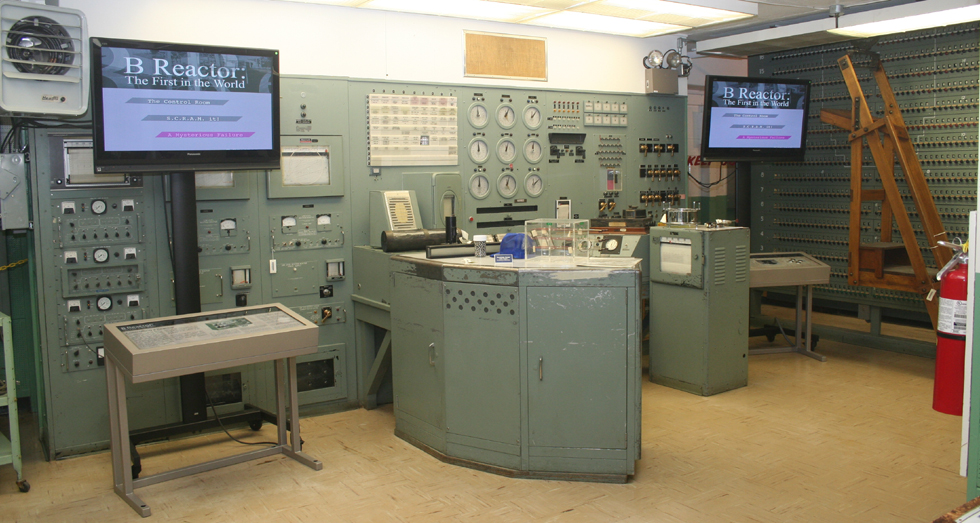
B reactor Control room
If the
loading face is the heart of the reactor, then the control room is it's brain.
This is the place where the reactor is monitored, and adjustments are made to
maintain peak production. It is also the place where panicked men might make the
decision to initiate an emergency shut down. Still, there was more to the
control room than making certain that the reactor remained critical and did not
blow up or melt down. Production had to be maximized. Careful measurements were constantly taken and recorded of all reactor operating parameters. These were used by the physicists to determine how long the reactor should stay up, and even how long individual fuel slugs should remain in the reactor. In some ways, this reminds me of farming. You plant your seeds, and then depending upon the amount of rain, condition of the soil, heat and temperature, you harvest your crop at a certain time, when it is ripe. If you wait too long, the crop can spoil, out in the field. If you harvest too soon, the crop will not develop it's full yield. The crop, in this case, is Plutonium 239.
In theory, the longer you leave the slugs in the reactor, the large the amount of Uranium 238 that will be eventually transmuted to Plutonium 239. Unfortunately, in a reactor, Plutonium 239 can transmute into Plutonium 240, and Plutonium 241. P241 is useless, because of its high rate of spontaneous fission. P240 is even worse because, in addition to a high rate of fission and radioactivity, it transmutes into Americium, which is exceptionally toxic, as well as radioactive. So physicists would attempt to calculate the best time to discharge fuel for processing - largest amount of desirable P239, least amount of undesirable isotopes - according to recorded reactor activity. But it gets even more complicated. The activity of the reactor, called the reactor flux, is not the same everywhere in the core. It is more pronounced towards the center of the core, and towards the middle of the various channels. Using the crop analogy again, some parts of the farm get more rain, and more sunshine than others, so the crops grow faster. Of course, with more rain and more sunshine, they will also rot faster once ripe.
As experience was gained, operators developed the knack of fine tuning the control rods to attempt and minimize the differences in reactor flux. The painstaking and constantly revised measurements helped. A look at some of the photos below should give an indication of just how intricate these measurements were. Even with the best efforts, only about a quarter of the reactor fuel was generally ripe for discharge at any given discharge cycle.
 |
|
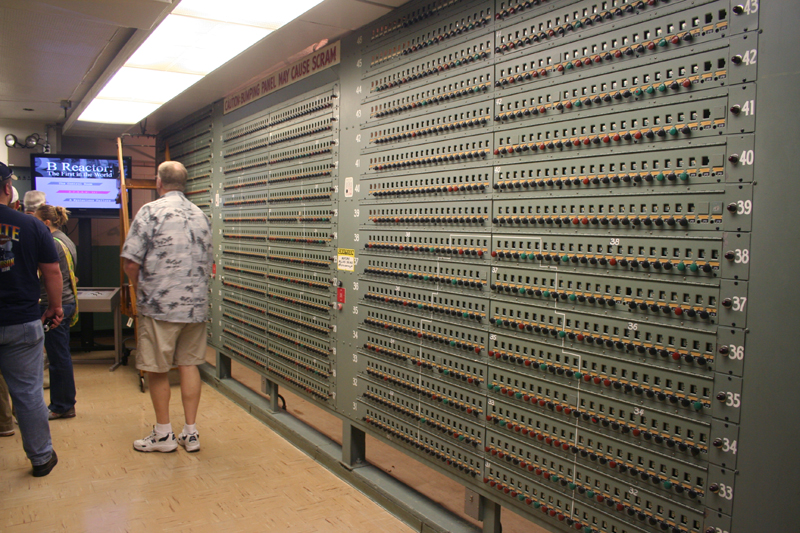 |
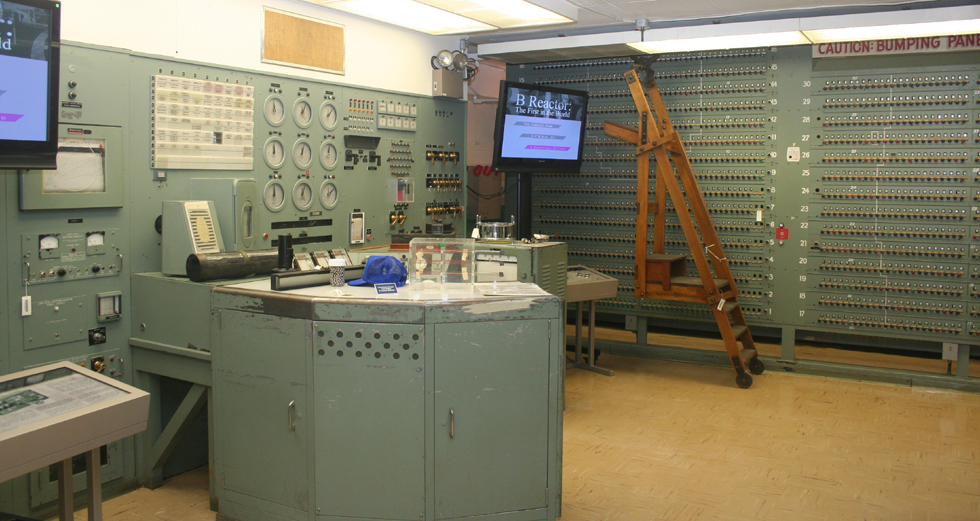
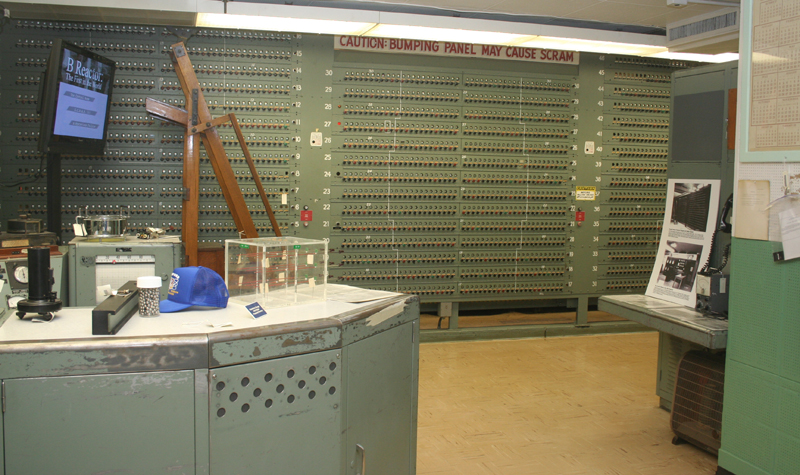
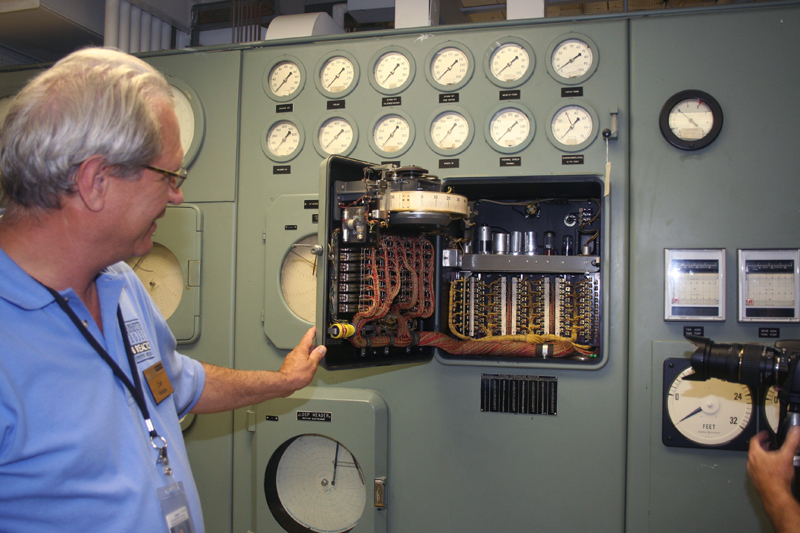
Pressure sensors indicate the flow to each of the fuel filled loading tubes. A ladder, visible at the end of the wall of indicators permits access to them all. Constant readings were taken and recorded by one of the reactor operators. |
 |
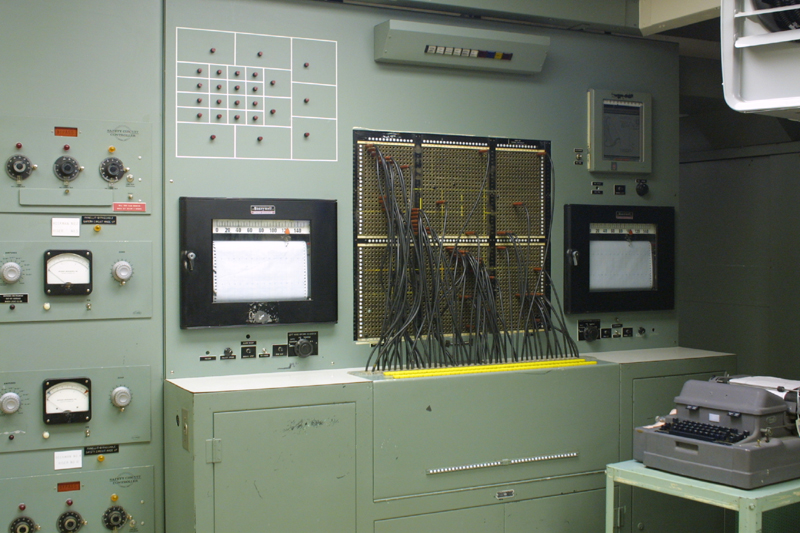
The insides of the panel shown above. This was all meticulously wired, to each loading tube. |
 |
A close up of some of the indicators, the little dials located under each indicator are for adjustment and allignment. |
 |
|
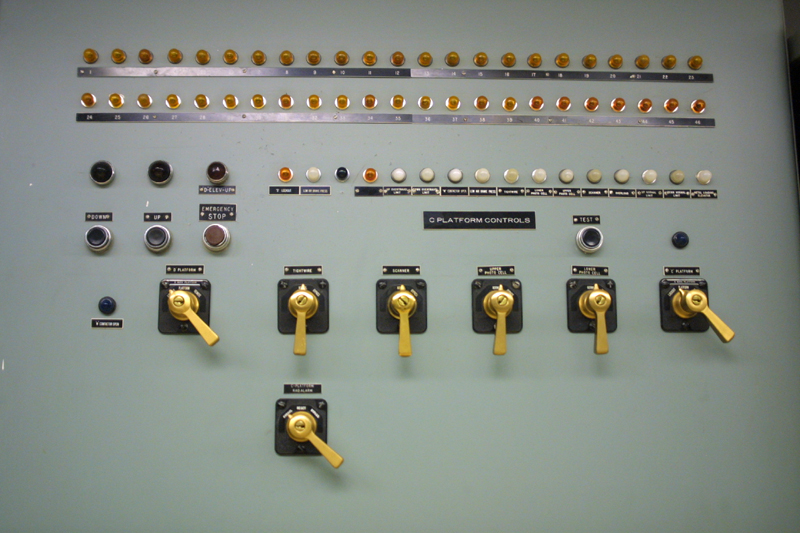 |
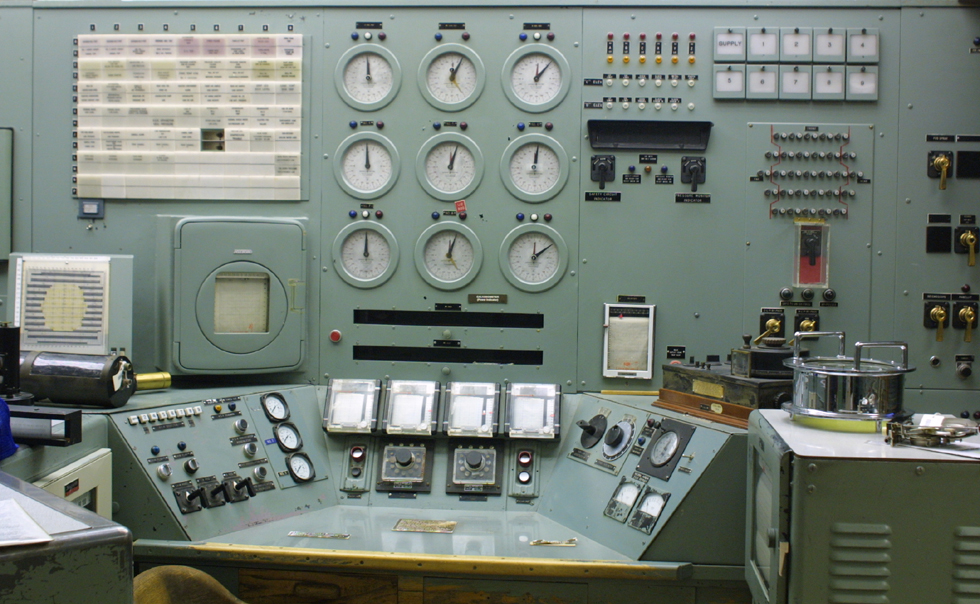
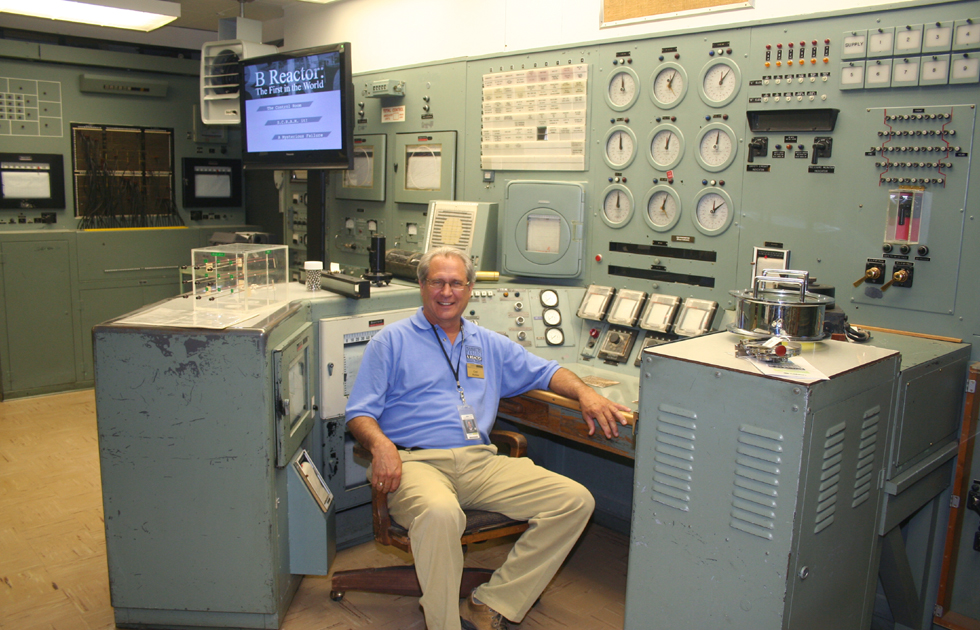
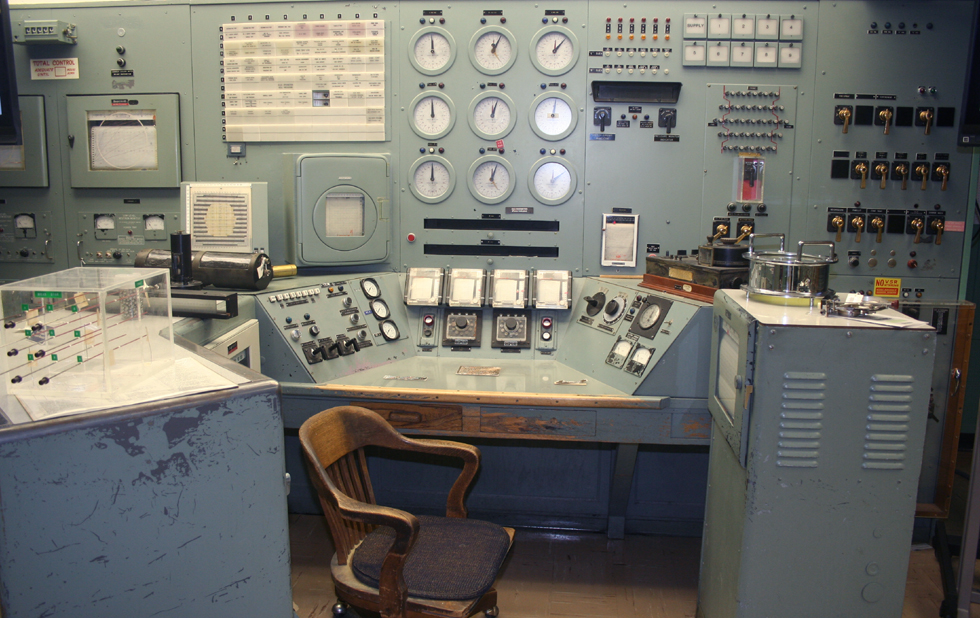
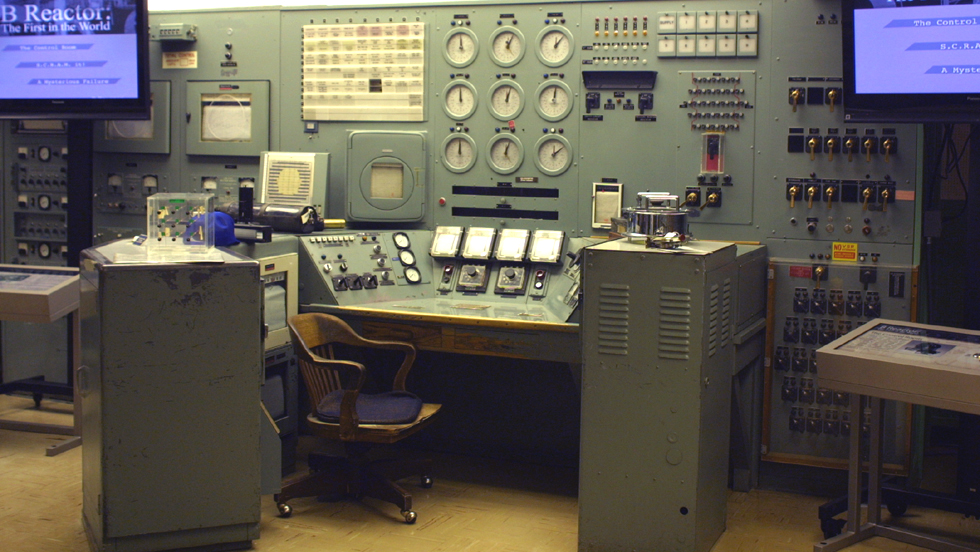
Above: One of our guides was a reactor operator, and a member of the B Reactor Museum Association. Left: controls for the loading platform gantry. Below: A good view of the control panel. The nine indicators, which look like clocks, are indicators for the position of the nine control rods. Each rod can be controlled individually to tweak the power output. |
 |
|
 |
|
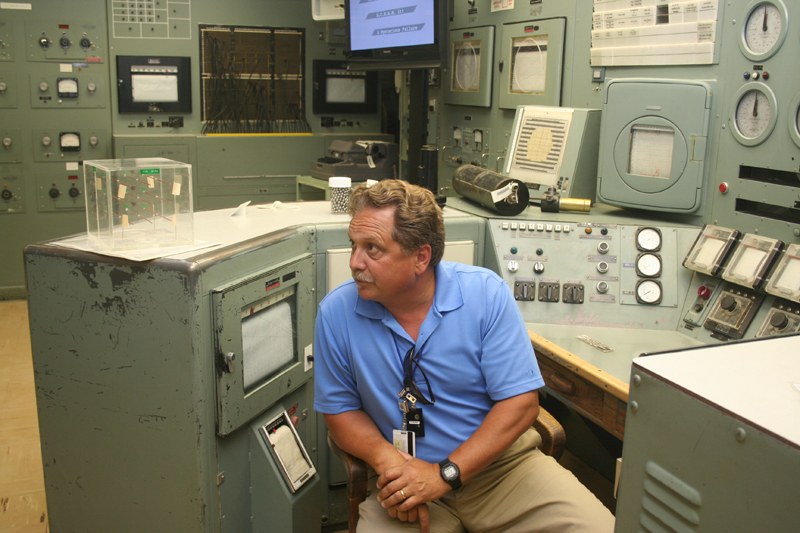 |
Above: The main control panel, and control desk. The switches off to the lower right, are for the safety rods. There are 29 of them, and unlike the control rods, they are generally all inserted or removed at the same time. Their job is to shut down the reactor. Left: One of our guides takes a seat at the operator's desk. Below: Another of our guides also takes his place. |
 |
|
 |
|
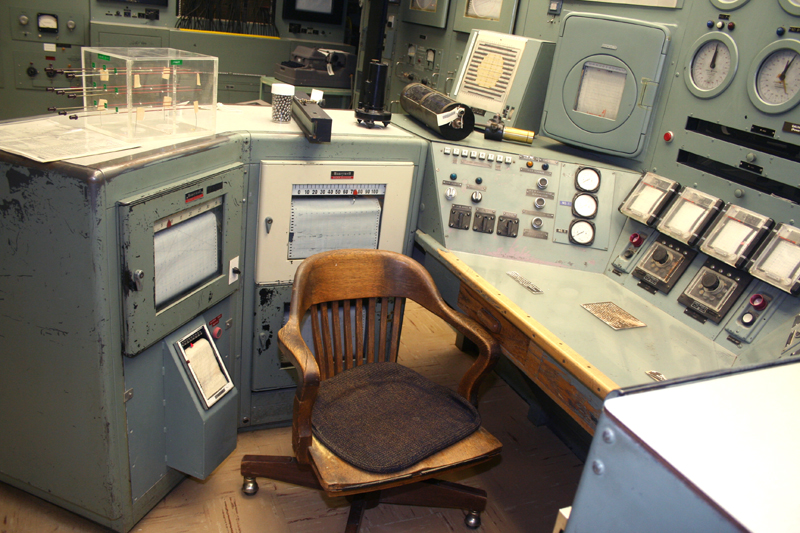 |
Above, below, and to the left are various views of the operator's console. I would love to explain what everything does; but I am not a reactor operator, and do not have a clue. |
 |
|
 |
|
 |
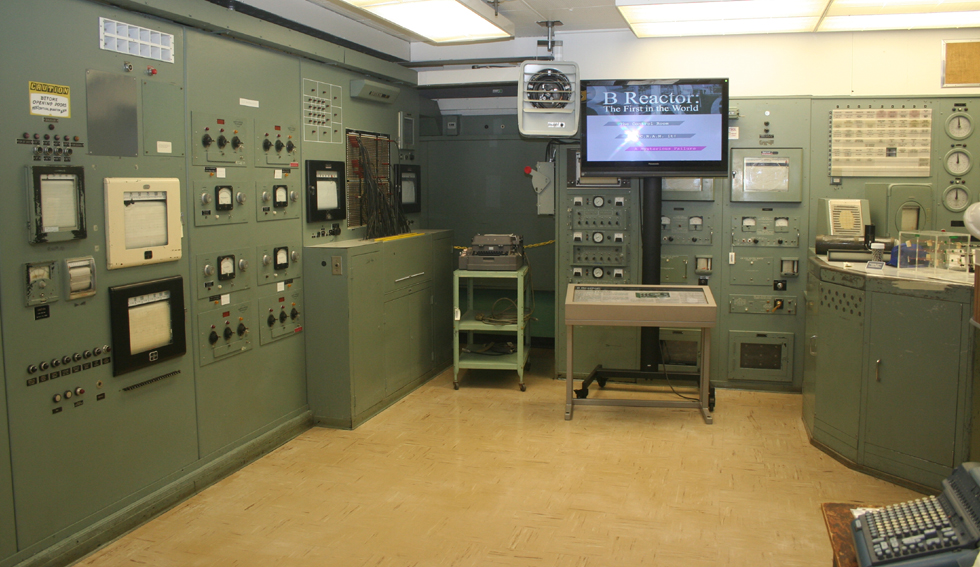
These photos show sections of the wall of indicators, with the control console. |
 |
|
 |
|
 |
According to our guides, this section of the control room was mostly concerned with temperature readings. The switchboard show at left was to connect temperature sensors to the chart recorders for a permanent record. These records were very important, because the physicist used such information to determine when the various channels of the reactor were ripe for harvesting. This makes Dr. Fermi's nickname of Mr. Farmer seem a bit more appropriate. |
 |
|
 |
One of our guides shows off a bit of 1940's craftsmanship. |
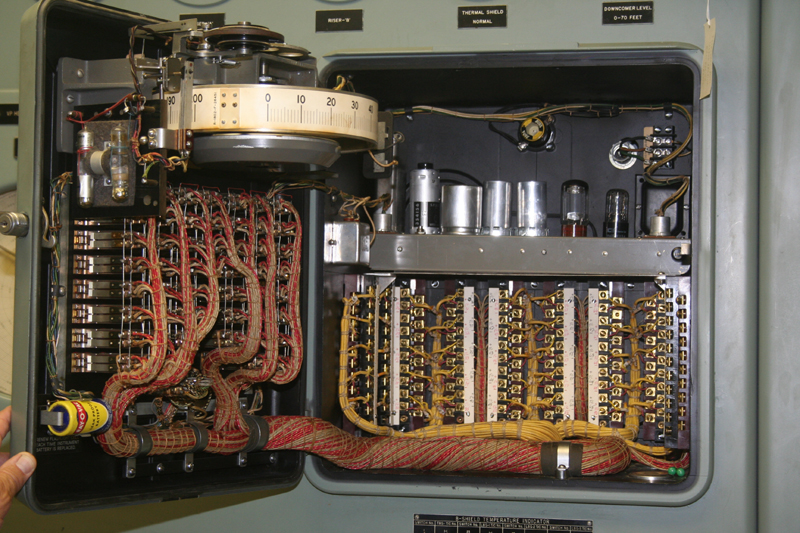 |
This is quite the wiring job. perfection was the goal, and t4ediuim was not a concern. |
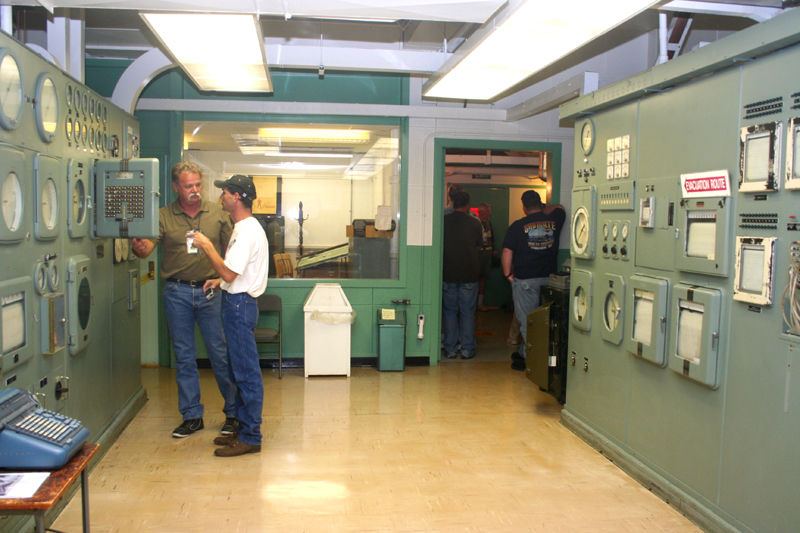 |
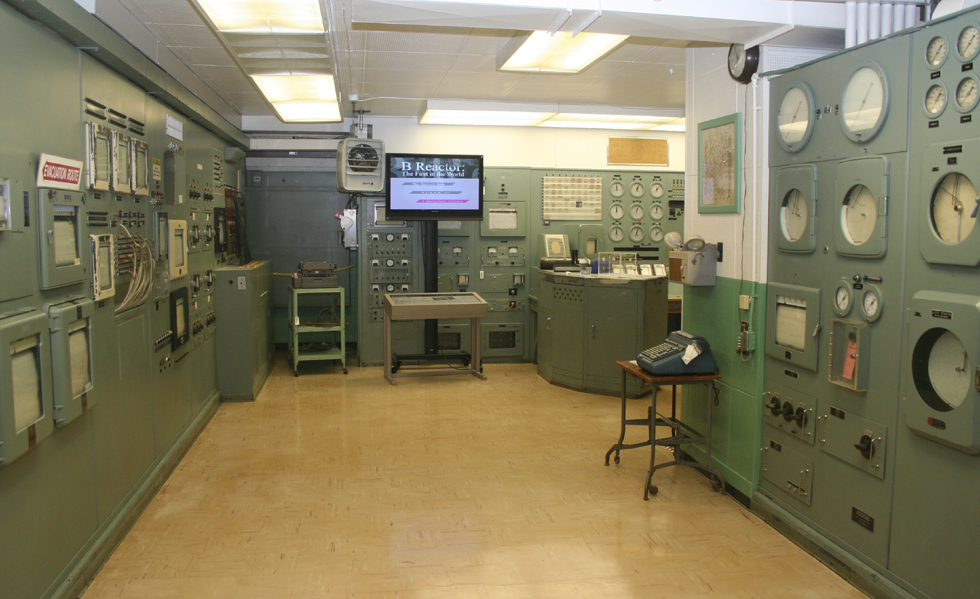
A look towards the back of the left hand side of the divided control room. |
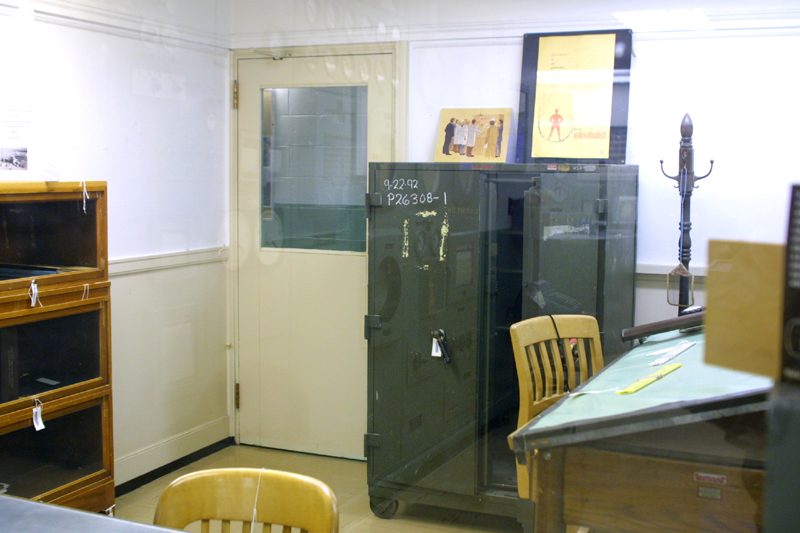 |
This was the office of Mr. Farmer, better known as Enrich Fermi. |
| Back to Loading Face | Forward to Richland |